-Yes, but I'd argue iit qualifies as an "alternative" process as it really messes with the pixies in an experimental way and not simply in post-production.
This is something I’d wanted to try for ages - hacking a digital camera to make it sensitive to infrared light. There are various tutorials online and the results look promising.
Hacking a digital camera is easy -in theory..
The basic procedure for making an IR digital camera is simple: remove the filter which covers the sensor. The difficulty is getting at it without messing up the delicate (some might say flimsy!) stuff inside the camera. Typically they are full of small circuit boards, connected by ribbon cables, ultra-thin wires and snap-together plastic doodads, all folded and wrapped around each other in ways hard to follow and easy to damage. As this is unlikely to be a reversible procedure I did what others recommend: Start on a cheap compact camera from a charity shop, so it’s not a big deal if you wreck it. (Access is potentially easier on DSLRs but you’ve got to be brave or very wealthy to do one of them)
 |
| Poor innocent Canon compact on the operating table... |
So here's my victim; £3 worth of Canon Powershot A570. 7.1 blazing megapixels and a ton of features. Very nice if you like that sort of thing. Having checked it works OK it’s time to delve inside.
I won’t make this a ‘how-to..’ guide as every camera will be different but here are some general points, and things I learned along the way:
1. Look at YouTube or Instructables etc. for instructions on how to take your model of camera apart. It can save a lot of time looking for hidden screws or stop you breaking something by accident.
2. The flash runs off a VERY HIGH VOLTAGE capacitor which stores a charge even when the camera is switched off. This can give you a very painful shock or even burn you so discharge it before you begin:
Before you start, set the flash to ON, take a picture, and instantly open the battery compartment. This stops the flash from recharging and makes the camera safer. As an added safety precaution leave the camera with the batteries removed for a day or two before dismantling to allow any stored charge to dissipate.
3. Dismantle the camera, taking care to store the tiny screws logically in sets and take lots of photos as you go. Trust me: - you won’t remember where every wire, tab, flange or clip fits when it’s time to put it all back!
 |
| this is about halfway through the strip-down. These things are complicated! |
4. Take great care. Don’t pull, bend or force anything. These things are really not designed to be taken apart. If at all possible don’t pull any ribbon cables off connectors, even if they appear to have re-connectable plugs. In my experience they don’t like it! Try to disturb as little as possible as you gain access to the sensor. On this one I reached it from the back of the lens turret but I had to move the screen and three circuit boards out of the way just to get access to the screws holding it in.

This is what you’re looking for: The sensor and the infrared filter which covers it. Carefully remove the filter glass, leaving any spacers or gaskets in place. The sensor needs to go back in exactly the same position. If it’s out by even the thickness of a gasket the camera won’t focus properly. Don’t touch the sensor but gently blow any dust off it before reassembly.

Here’s the filter. Only a tiny piece of glass but it blocks the infrared wavelengths from the sensor and ensures the camera has a ‘natural’ colour response.
Reassembly is the reverse of removal (as it says in all the best manuals) - but it’s time-consuming and fiddly. Take as much care as you did when dismantling things and ensure everything is seated properly before tightening the screws, otherwise you can easily crack a component and ruin the whole camera. Once you’ve got it all back together without too many screws left over :-) reinstall the card and batteries and try it.
 |
| Test shot with the camera reassembled |
This hideous colour is a sign of success. The sensor is now seeing all wavelengths including the infra-red which the filter was blocking. This Canon allows a custom white balance but simply trying the various options (daylight, tungsten, flash etc.) goes through a good range of options. Choosing the setting where the colour looks most normal gives more scope and gradation in post production.
The image is bit over-exposed but that can be compensated. Converting to black and white in Photoshop and biasing the conversion to the reds a bit gives a good, strong infra-red effect.
Here's the same scene shot in different ways:
The image is bit over-exposed but that can be compensated. Converting to black and white in Photoshop and biasing the conversion to the reds a bit gives a good, strong infra-red effect.
Here's the same scene shot in different ways:
 |
| 'Straight' digital photograph with no infrared (actually shot on my iPhone as the Canon can no longer do this) |
 |
| No filter on the lens but "custom' white balance selected on camera. The mildest effect but still a long way from 'natural' colours. |
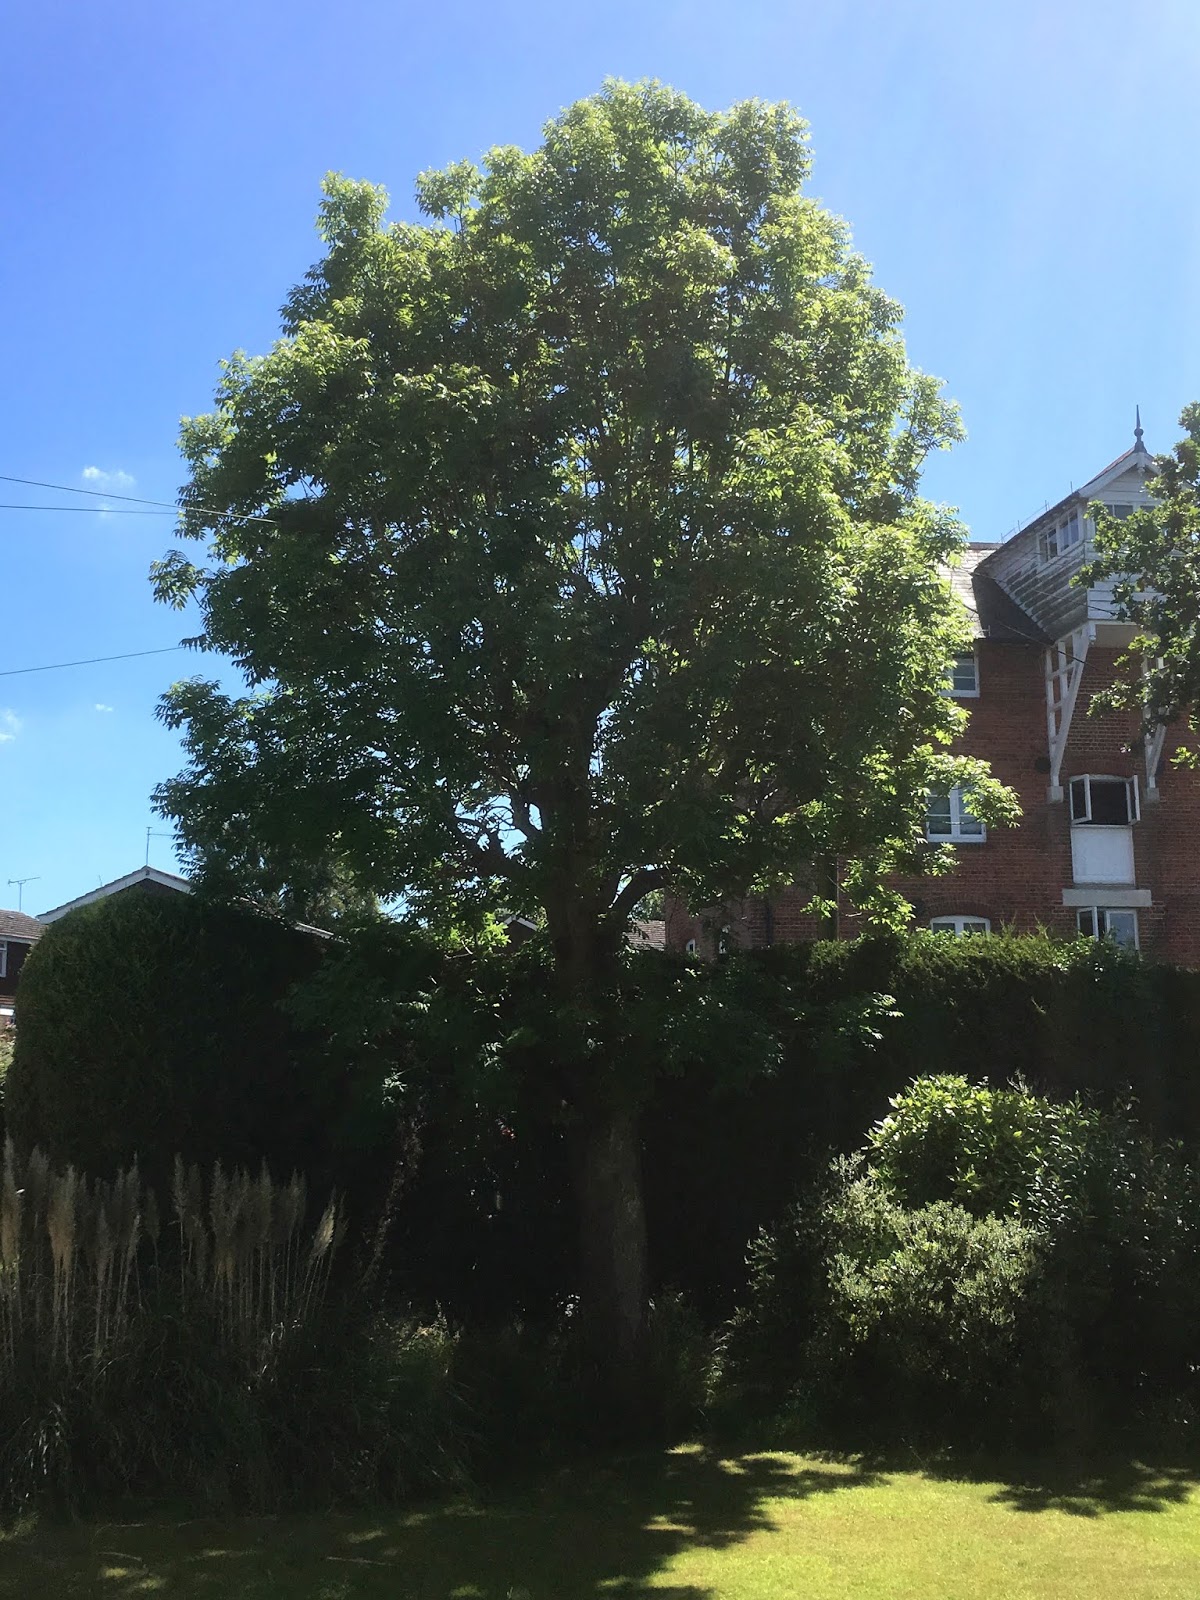
 |
| A strong red (Kodak no.29) filter gives some very odd colours - the foreground grass and foliage are almost normal green but with a white tree and orange sky |
 |
| Using a dedicated IR filter (Ilford's SFX filter) gives near-monochrome straight from the camera |
You can barely see anything through a dedicated infrared filter as it cuts out almost all the visible spectrum. The converted camera loves it though. Here’s another picture using the SFX filter:
Interestingly, hitting "Auto Colour" does a pretty good job of expanding the tones. That's all I did to the picture above, followed by doing the bog-standard "Mode" conversion to black and white- not even bothering to tweak the response. there's a lot more potential for making high quality images but for the moment I'm still just a kid with a new toy...
 |
| Ilford SF-X filter plus B&W conversion in Photoshop |
Infra-red photography is interesting as the camera sees totally differently. Foliage reflects a lot of IR so it records as light, almost white. Blue skies and water have very little IR so they record as very dark. An overcast sky is ‘warmer’ as the clouds reflect quite a bit of IR. After a while you get better at predicting what the images will look like but it’s not really for Zone System previsualisation techniques! It’s good fun and has quite a bit of potential though.
Finally here are a couple more made with a piece of Kodak Wratten No. 29 (deep red) gel filter:
 |
| The curious dual sky colour is how the camera rendered it. |
 |
| Quarr Abbey, Isle of Wight 2018. |
 |
| I find the orange/green colours a bit much. - Here's a B&W conversion. |
 |
| I'm not sure what caused this curious blur/streaking effect but it may be over exposure or over heating of the sensor |
 |
| Round the Island Yacht Race, July 2018 |